
For the last 6 months I have been thinking about adding a fence into the backyard mainly because with local water restrictions in a part of my yard had become a mud patch. I thought a fence would help keep the main part of the yard looking nice while creating a separate area that could be used for storage.
Preparation
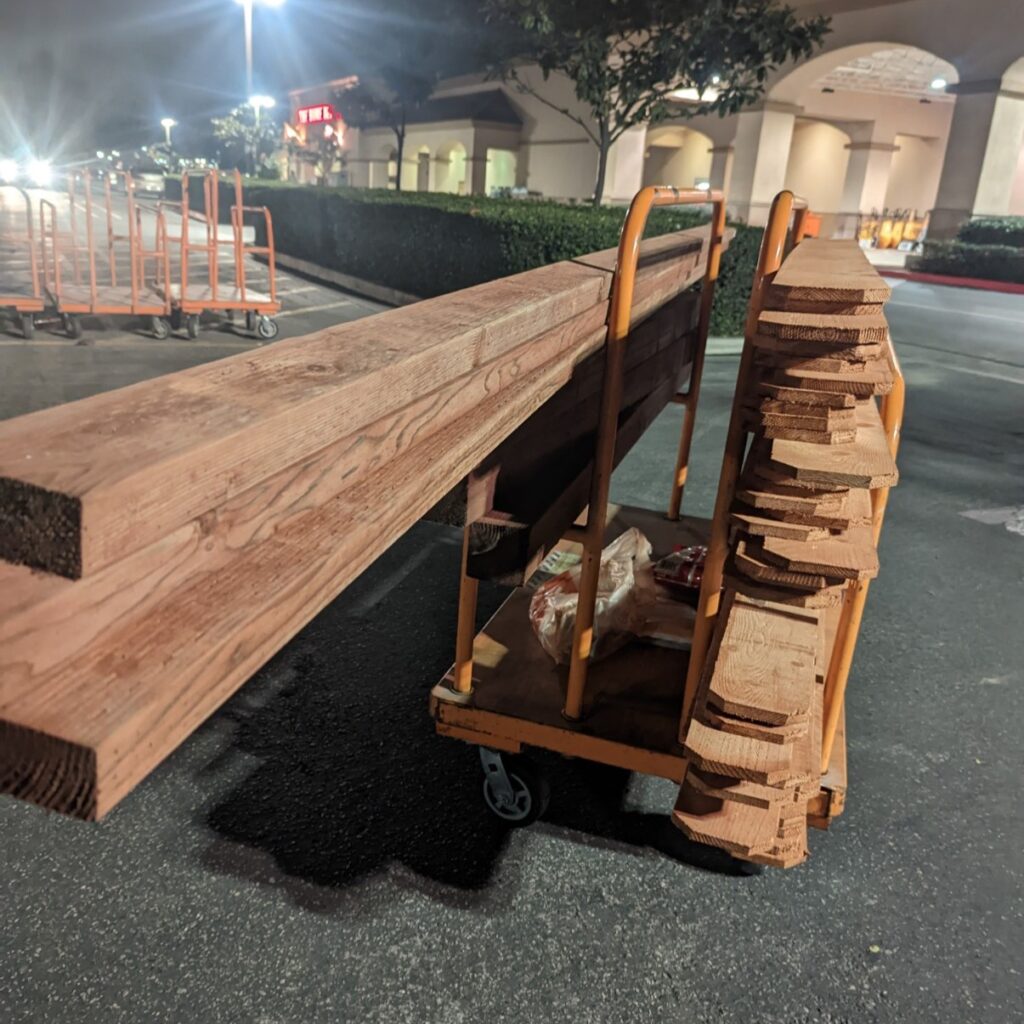
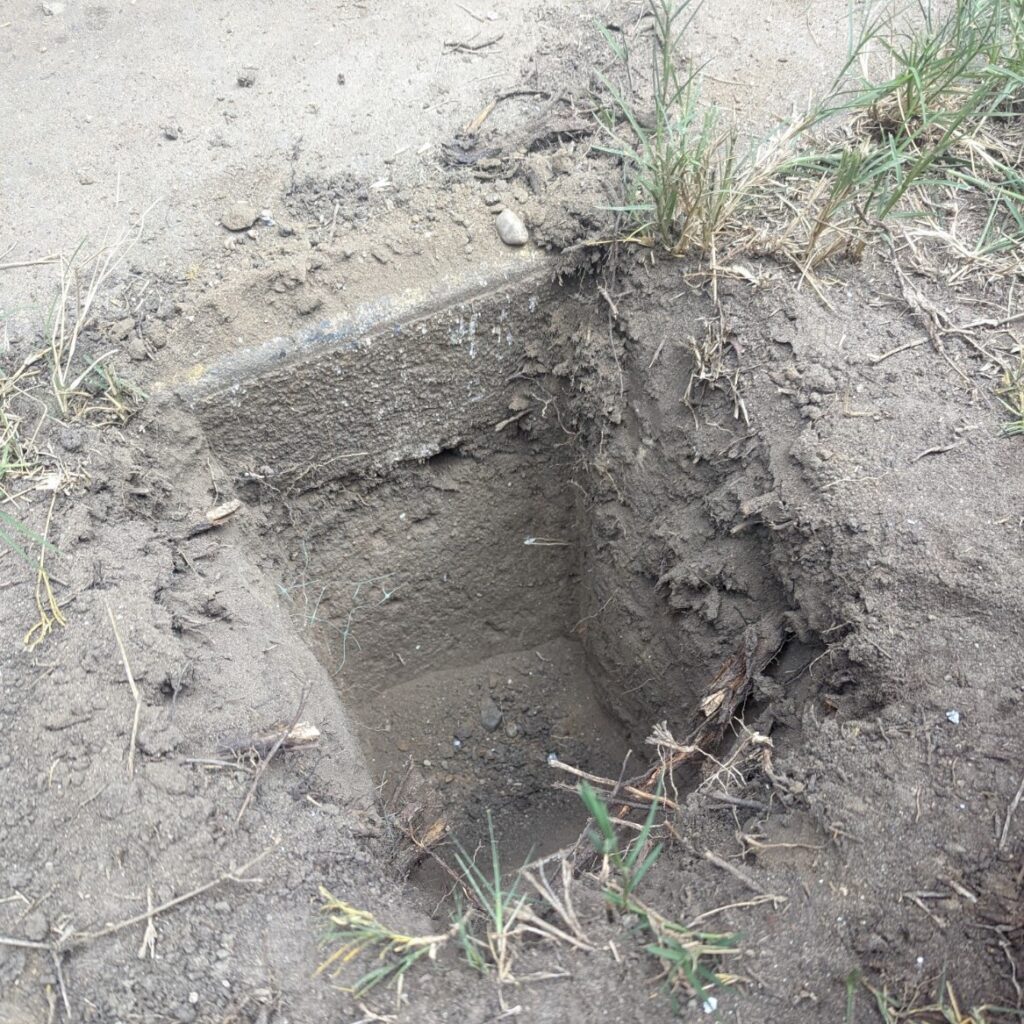
Once I have decided where the fence was to go, I measured up and set off to Home Depot for the supplies. I went with pre stained fence posts they matched my Wooden BBQ area plus they were considerably cheaper than the natural ones (which I would have had to stain anyway!). Next up I used a laser to get a straight line across the yard and set about digging the 14″ deep holes.
Foundations
With the holes dug it was time to get the main support posts in place. We went with 8ft pressure-treated poles and used the concrete. We had originally tried a foam-based product, but this just didn’t work.

The fence
For the support beams I used pressure-treated 2×4 timber attached using some simple fence brackets. As I can see the back of the fence from my office, I did take the extra time to make sure these were perfectly level! The ends of the fence to an existing wooden fence and the side of the house. For the house I used some Stucco anchors.


For the fence posts we set a string line across the top starting at the highest point. Each fence post was measured individually to make sure it fitted without having to dig a hole or having it short with a gap – this did add to the time it took to put the fence up but definitely made a difference.


The gate
I decided to make a custom gate that matched the rest of the fence. Having carefully measured I cut and made a simple frame out of pressure-treated 2 x 4 timber (used the old method of measure twice, cut once) before adding my fence posts. I added the posts whole before measuring the exact length needed – 1 side needed to be slightly longer that the other. Once I had my 2 measurements, I drew a line between the two and used my circular saw to trim them down.


The gate was attached using some simple brackets then I added a slide bolt and a hook and eye. I use the hook and eye to keep it open as I have dogs who like to roam the yard.
Finishing up
To finish up I trimmed the top of the posts down to be level with the top of the fence posts and added a couple of solar lights to help illuminate the gate space.


Summary
It was a lot of hard work and learning along the way but super happy with the way this came out and the added look it has with the yard. Surprisingly putting the fence up actually made the yard seem larger.
Have already started work on the new fenced off area by capping off all of the sprinklers and moving my extra BBQ’s in there. Eventually I will remove the grass and cover it with mulch but that is a project for another time!
1 thought on “Building a garden fence”