
While I (Steve) have smoked a lot of meat (and some veggies) over the years I have never done a brisket until now. With the help from my brother-in-law, Mike (famed for pairing Kielbasa with Pineapple) we set about the task at hand!
Preparation
As the bottom of the brisket has the most fat we started there, using a fillet knife we carefully started to remove the fat – I was a little surprised how much there actually was. We trimmed until we had 1/8-to-1/4-inch left. On the top of the brisket, we trimmed away as much fat as possible. Up next, we started to remove the fat separating the point and flat, again surprised how much fat was in there. Last bit of trimming was removing some of the outer edge, not only did this shape the brisket nicely but removed some of the meat that might not have cooked as well.
By the time we had finished trimming we had a brisket that looked clean and was pretty close to the same width from one side to the other – learnt that his helps with the cooking process.
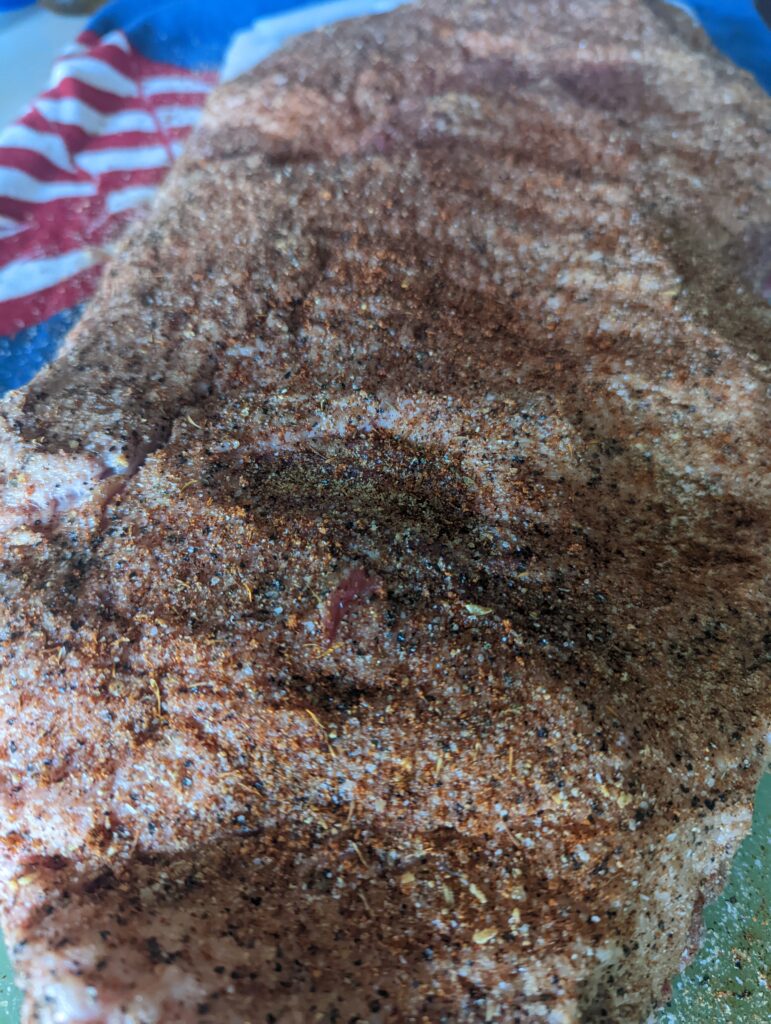
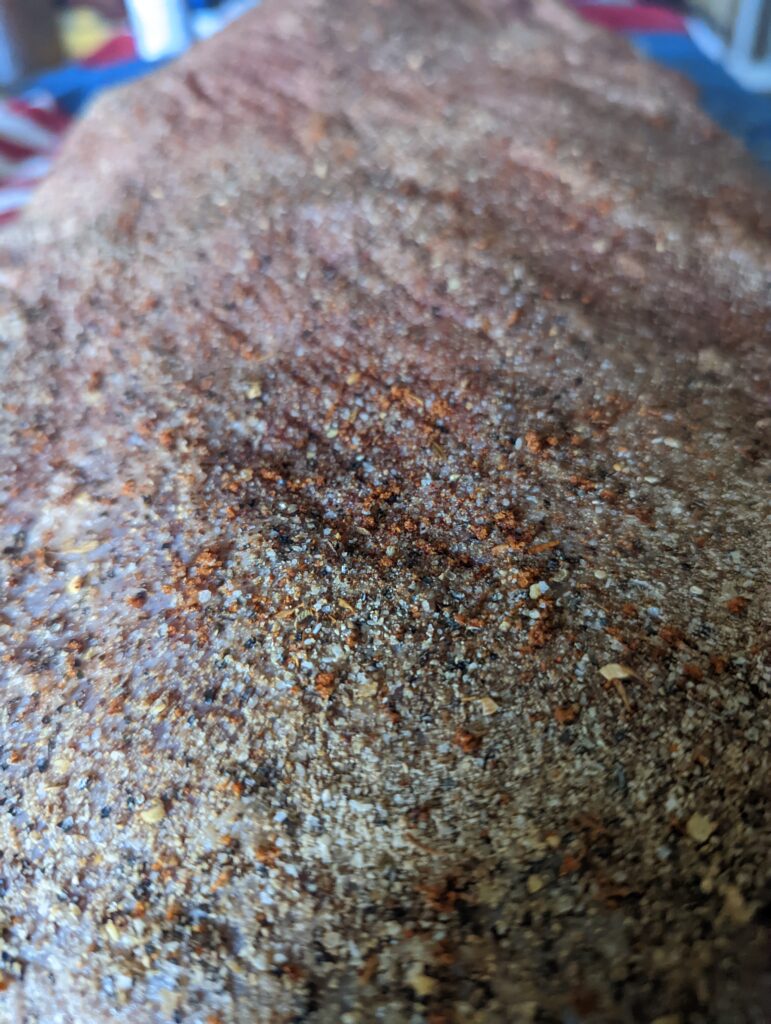
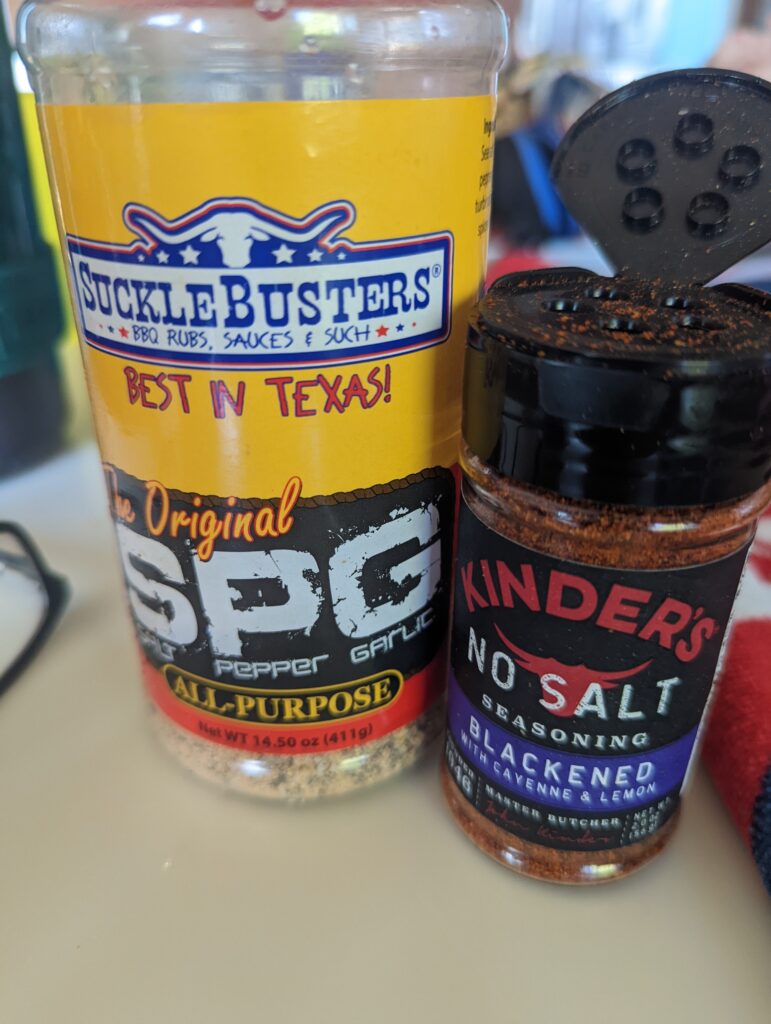
We went with some simple season, a heavy covering of SuckleBusters SPG on both the top and bottom of the brisket with a sprinkling of Kinder’s Blackened seasoning on just the bottom to add some extra color.
In the smoker
We were using a Pit Boss Wood pellet smoker for the smoking process and had it pre-heating to 225 degrees while we were trimming.
Having inserted our Meater thermometer the brisket went in, bottom side down (side with most of the fat). We placed some water in the drip tray at the bottom of the smoker (we did discuss what other liquids could be used – cherry coke, beer, apple juice to name a few), this was done to help keep the meat moist during the smoking process. The door was shut, and the waiting began!
Overnight we lowered the temperature to 175 degrees.
Morning check
Once I enjoyed the smell and watching the smoke coming out of the smoke for a while it was time for the morning temperature check. The temperature was lower than we expected it to be (140 degrees) and as we were planning to eat this later in the day re raised the temperature back up to 225 degrees.
Constant work
Using the Meater app we kept a close eye on the temperature and once it reached 160 degrees, we wrapped the brisket. We didn’t use the normally method of wrapping it in butcher paper instead going for a tray and covering that with a tight lid of foil. Just before we sealed the tray, we did give the brisket an extra covering, top and bottom, of SPG.
Finishing up
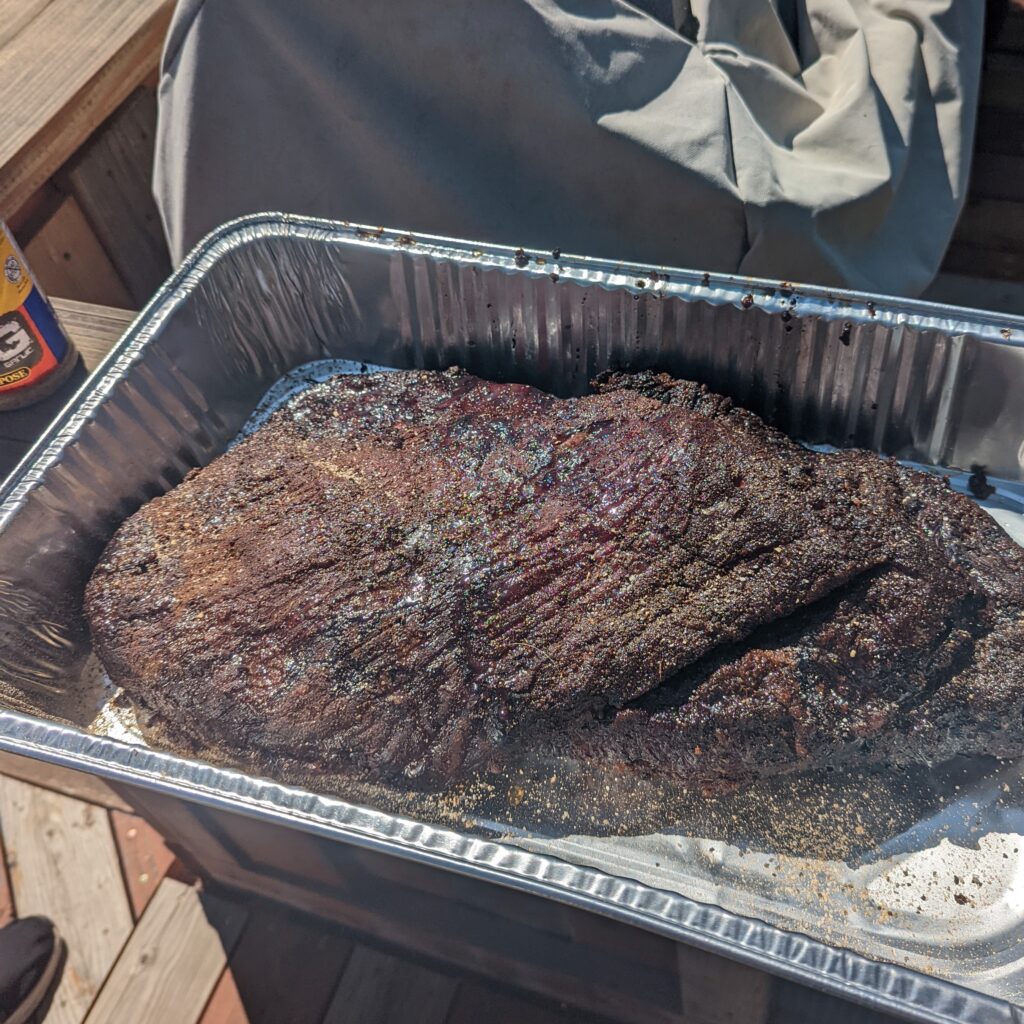
We were looking for an internal temperature of 200 degrees before removing it – unfortunately my son had a soccer game and we had to leave the house. When we returned the temp had reached 208 degrees. We removed the tray and put it to one side for a couple of hours.
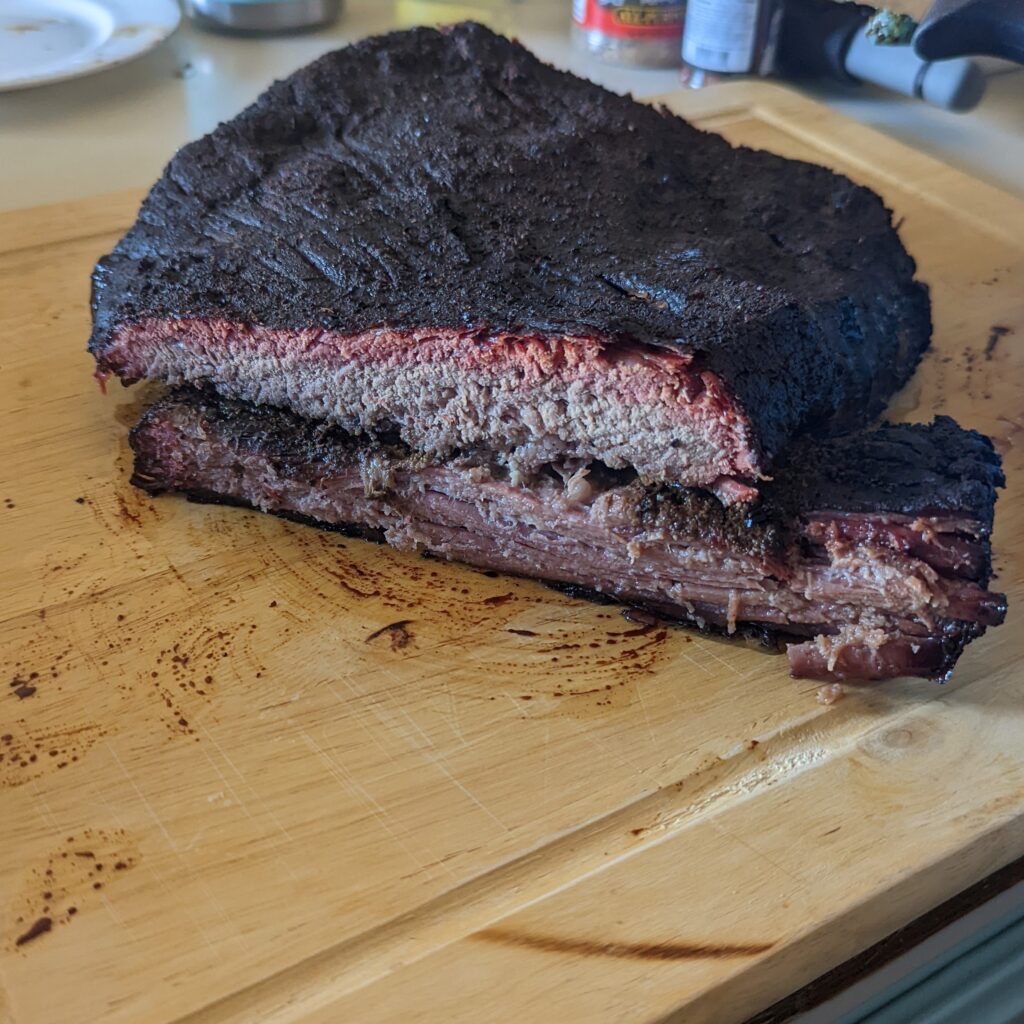

Letting the brisket reach a higher than planned temperature meant that it had slightly dried out but thankfully not ruined!
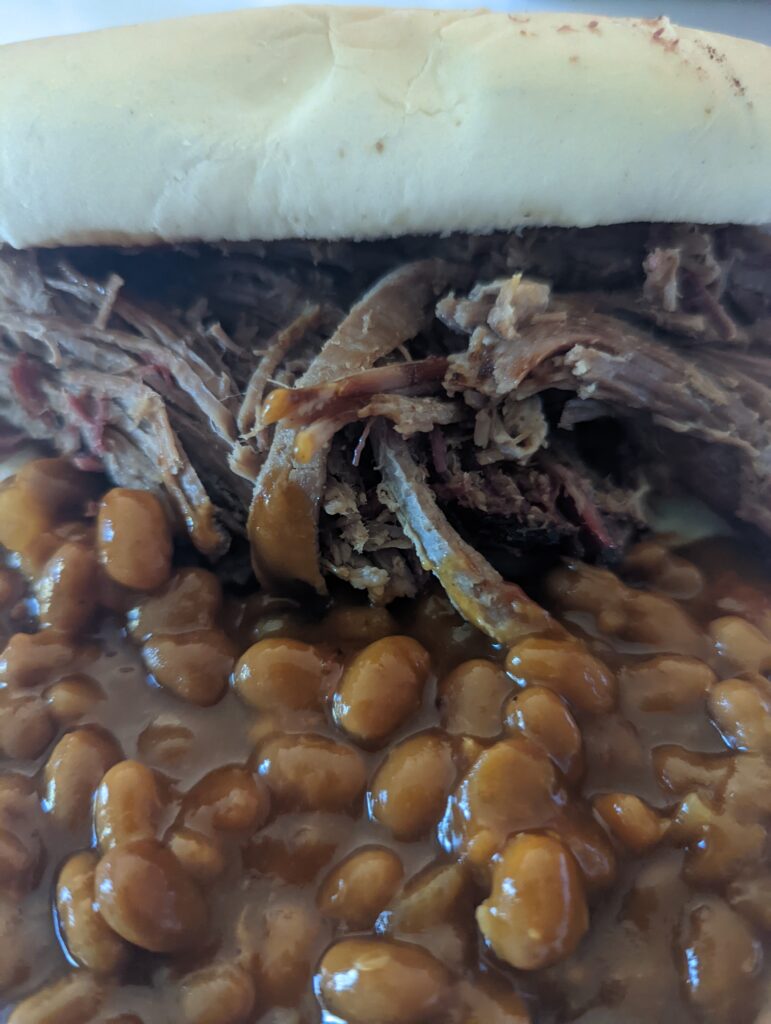
After a couple of hours and once the home-made beans had finished cooking we tucked into brisket sandwiches and beans/
Conclusion
I had a lot of fun leaning about the whole process on smoking a brisket and certainly enjoyed the end results – thanks Mike for taking the time to show me all this. Next time I will make sure that I have nothing in the diary on the 2nd day just so I can closely monitor the temperature and remove it at the right time.
Overall, I think it was a success, looked good and tasted great!
2 thoughts on “My First Brisket”